
How to Remove Grease From Kitchen Cabinets?
Grease has a way of finding every surface in a busy kitchen. Over time, cooking oils, food splashes, steam, and everyday dust can combine into a sticky layer that makes even well-maintained cabinets look dull. The good news is that you do not need harsh chemicals or complicated equipment to restore their appearance.
Learning How to remove grease from kitchen cabinets starts with choosing a cleaning method that matches the cabinet material and the amount of buildup. With warm water, gentle cleaners, and the right technique, you can make dirty cabinets look cleaner without damaging their finish.
At Royal Cabinets, we understand that beautiful cabinetry deserves proper care. Whether your kitchen has painted, wood, laminate, or finished cabinet surfaces, regular maintenance can help preserve their appearance and make cleaning easier over time.
How to Remove Grease From Kitchen Cabinets Without Damaging the Finish
Before you begin, identify your kitchen cabinet finish. Different materials can react differently to moisture and cleaning products. A cleaner that works well on one surface may be too strong for another.
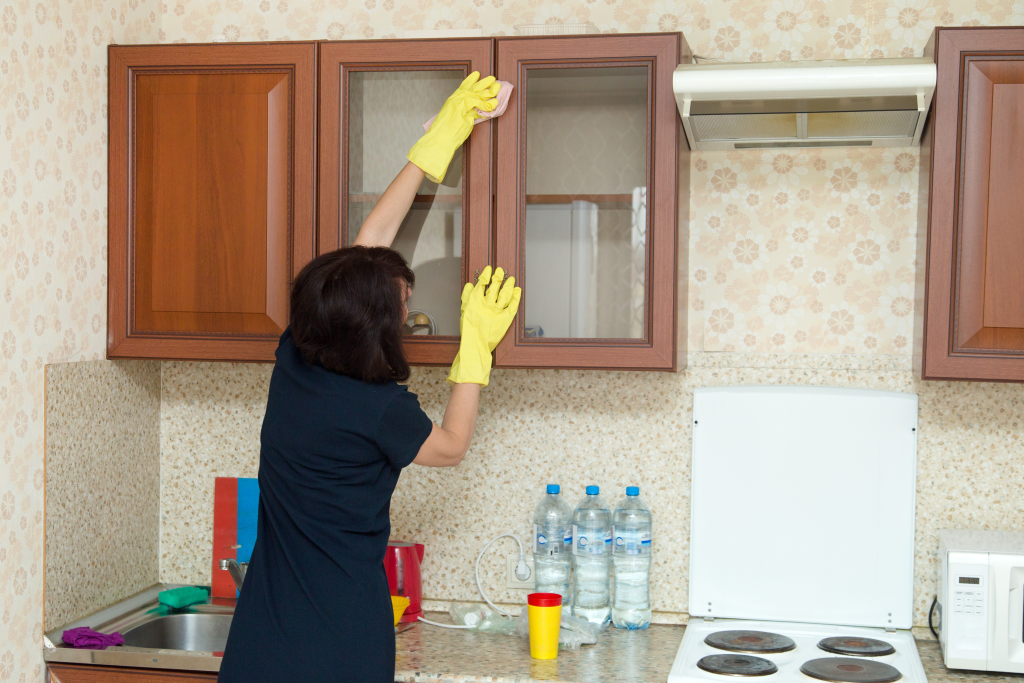
Start by removing items from the cabinet and wiping away loose crumbs and dust. Use a soft microfiber cloth rather than an abrasive sponge. This helps prevent scratches and lets you see where the grease is concentrated.
For everyday buildup, mix a small amount of mild dish soap with warm water. Dampen the cloth, wring it out well, and gently wipe the surfaces. Avoid soaking the cabinet doors or allowing water to collect around edges, seams, and hardware.
For a new cabinet or an unfamiliar finish, test the cleaning method on a small, hidden area first. If the finish remains unchanged, you can continue with the rest of the surface.
Murphy Oil Soap for a Gentle Cabinet Cleaning Routine
Murphy Oil Soap is often used as part of a gentle cleaning routine for suitable wood surfaces. If your cabinet manufacturer’s care instructions permit it, follow the product directions carefully rather than assuming that more cleaner will provide better results.
A common approach is to dilute the product according to its label, then use a soft cloth to clean the cabinet surface. The key is controlling moisture. Your cloth should be damp, not dripping wet.
When working on greasy cabinet doors, clean a small section at a time. Wipe the area gently, then use a clean, damp cloth if needed to remove residue. Finish by drying the surface with another soft cloth.
Royal Cabinets recommends checking the cabinet’s existing finish before choosing any cleaning product. Proper care helps protect your cabinetry’s look while keeping everyday grime under control.
Using Dawn to Clean Greasy Cabinets
For many kitchens, a few drops of Dawn or another mild dishwashing liquid can loosen everyday grease. You don’t need much soap. Too much can leave a film behind and require additional rinsing.
Fill a bowl or bucket with warm water and add a few drops of dish soap. Dip a microfiber cloth into the mixture and squeeze out excess moisture. Then gently wipe the greasy cabinet, focusing on areas around handles, the cooking zone, and cabinet doors near the stove.
If the grease is stubborn, let the damp cloth rest against the affected area briefly to help loosen the residue. Do not aggressively scrub the finish.
Once the grease has lifted, wipe the surface again with a clean, slightly damp cloth. Dry the cabinet promptly to prevent moisture from sitting on the panels.
Baking Soda for Stubborn Grease Buildup
Sometimes ordinary cleaning is not enough for stubborn grease. Baking soda provides mild abrasive action, but use it carefully, as excessive scrubbing can affect certain cabinet finishes.
To create a simple paste, place a small amount of baking soda in a bowl and add just enough warm water to form a soft mixture. Apply a small amount to the greasy area and gently work it with a soft cloth.
Avoid pressing hard. The goal is to loosen the residue, not scrape it away. Afterward, use a clean, damp microfiber cloth to remove the mixture completely, then dry the surface.
Before using baking soda on the entire kitchen cabinet, test it in an inconspicuous location. Painted, glossy, delicate, or specialty finishes may require a different cleaning approach.
At Royal Cabinets, we believe that knowing what not to use is just as important as knowing what to use. A gentle approach is usually the safest place to start.
A Simple Cleaning Kitchen Routine That Works
Regular maintenance can prevent grease from becoming a difficult problem. Instead of waiting until cabinets develop a thick, sticky coating, make light cleaning part of your normal kitchen routine.
After cooking, quickly wipe visible splashes and fingerprints. Pay particular attention to the cabinet doors and surfaces closest to the stovetop. These areas typically collect grease faster than cabinets located farther away.
For routine cabinet cleaning, keep a microfiber cloth nearby and use a mild cleaning solution when necessary. Wipe surfaces gently, then dry them. This small amount of effort can save considerable time when deeper cleaning is eventually needed.
A practical routine may include:
- Wipe cooking splashes as soon as the surface is cool.
- Clean cabinet handles regularly because they collect oils from hands.
- Use a damp microfiber cloth for light daily buildup.
- Deep-clean greasy areas when residue becomes noticeable.
- Dry cabinets after cleaning, especially around edges and seams.
Consistent care helps your cabinets stay clean and reduces the heavy scrubbing you’ll need later.
Cleaning Kitchen Cabinets: Areas That Need Extra Attention
When cleaning kitchen cabinets, do not focus only on the large, visible panels. Grease can collect in less obvious areas, including cabinet edges, corners, handles, lower sections, and the spaces near cooking appliances.
Cabinet doors are especially important because people touch them often. Finger oils can combine with cooking residue and create a sticky surface. Handles may also need separate attention because they are among the most-touched parts of the kitchen.
The wall and backsplash area around the cooking zone can also contribute to cabinet grime. If grease accumulates there, it may eventually transfer back onto nearby cabinet surfaces.
Take your time and clean from top to bottom. This helps prevent dirty water and loosened residue from running onto areas you have already cleaned.
Royal Cabinets encourages homeowners to inspect their cabinetry periodically rather than waiting for visible buildup to become severe. Early cleaning is generally easier and less demanding on the finish.
How to Clean Kitchen Cabinets With a Gallon Bucket
For a larger cleaning session, a gallon bucket can make the process more convenient. Fill the bucket with warm water and add an appropriate amount of mild cleaner according to the product instructions.
Keep a second cloth available for drying. Working with two microfiber cloths can help you separate the wiping and drying steps.
Dip the cleaning cloth into the bucket, wring it thoroughly, and wipe one section at a time. When the cloth becomes dirty, rinse it before continuing. This prevents you from simply moving grease from one cabinet to another.
For particularly dirty cabinets, you may need to repeat the process. Avoid flooding the surface with water. Cabinets are designed for everyday kitchen use, but excessive moisture can still cause problems, especially around joints, edges, and unfinished areas.
Once a section is clean, dry it before moving to the next area. This method keeps the work organized and gives you better control over how much moisture you use.
When Your Cabinet Needs More Than Cleaning
Cleaning can dramatically improve the appearance of cabinets, but it cannot correct every problem. If the finish is peeling, the wood is swollen, panels are damaged, or the cabinet doors no longer function properly, cleaning alone may not be the right solution.
Likewise, years of heavy grease exposure can sometimes leave discoloration or surface changes that require professional evaluation. Trying increasingly aggressive products may make the situation worse.
If you are unsure about the appropriate cleaning method for your cabinetry, check the manufacturer’s care recommendations before proceeding. When the finish or material is unfamiliar, professional guidance can help you avoid unnecessary damage.
At Royal Cabinets, quality cabinetry is about more than appearance. We value practical solutions, careful workmanship, and helping homeowners get lasting value from their kitchen investment.
Keep Your Kitchen Cabinets Looking Their Best
Knowing how to remove grease from kitchen cabinets can make a noticeable difference in your kitchen’s appearance. The best approach is usually simple: use gentle products, warm water, a microfiber cloth, and controlled moisture. Mild dish soap, Murphy Oil Soap, or carefully applied baking soda may be useful depending on the cabinet’s material and finish.
Remember that every cabinet is different. Always test a new cleaning product or method in a hidden area first, and avoid harsh scrubbing that could dull or damage the surface.
A clean kitchen starts with small habits, but beautiful cabinetry also depends on quality materials and thoughtful design. Royal Cabinets is committed to helping homeowners create kitchens that combine attractive design, practical functionality, and lasting quality.
Ready to give your kitchen a fresh, polished look? Connect with Royal Cabinets to explore cabinetry solutions designed to make your kitchen beautiful, functional, and easier to enjoy every day.